8 Replacing the storage board (STRGB)
(Video: Disassembly the storage board)
NOTE
- Never use the combination of the used storage board removed from another machine and the CPU board. This combination causes corruption of stored data. Note that the combination of the original storage board and the used CPU board removed from another machine also causes the same problem.
- Never replace the storage board and CPU board with new one at the same time.
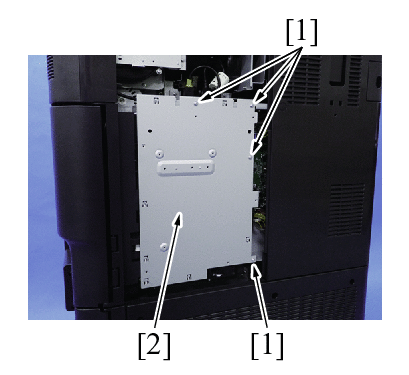
- Remove the upper rear cover/1.
- Upper rear cover/1
- Remove four screws [1], and remove the plate [2].
- Remove the screw [1], and remove the storage board [2].
- NOTE
- When mounting the storage board, insert it obliquely.
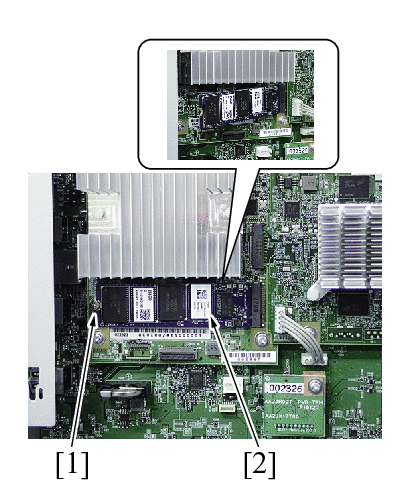
- To reinstall, reverse the order of removal.
Actions after replacement of the board
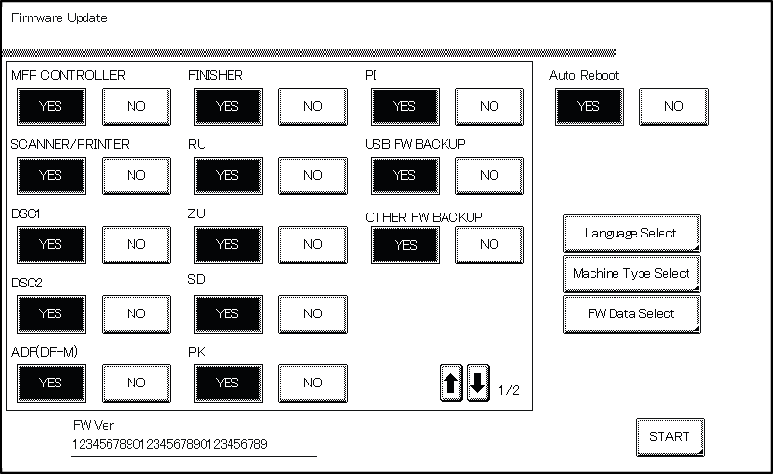
- Connect the USB memory containing the firmware into the USB port of the main body.
- Turn the main power switch ON while pressing the Stop key.
- When a firmware update screen appears, touch [START] to update the firmware.
- When the firmware is upgraded, the machine restarts automatically.
- When [Recover Data] appears on the screen, touch [Recover Data].
- When a verification message appears, touch [Yes].
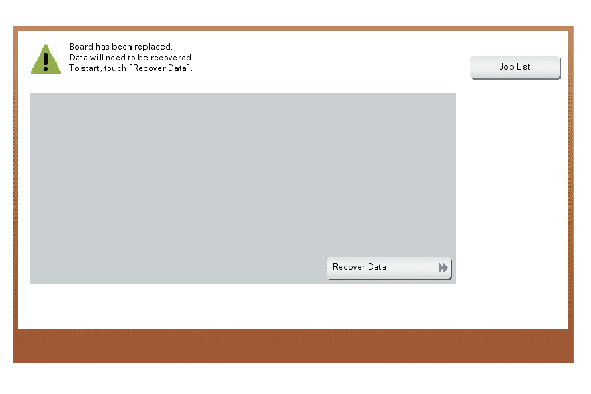
- When the “Turn the main switch OFF and ON.” screen appears, turn OFF the main power switch, and remove the USB memory.
- Turn ON the main power switch.
- After starting up the machine, check the firmware version in Service Mode.
- If the firmware version is not the latest, upgrade the firmware.
- If a data has been retrieved with backup utility, conduct the data restoration.
- Install the movie data, voice data, font data or other data as required.