2 Replacing the developing unit
(Video: Replacing the developing unit)
- Remove the drum unit.
- Replacing the drum unit
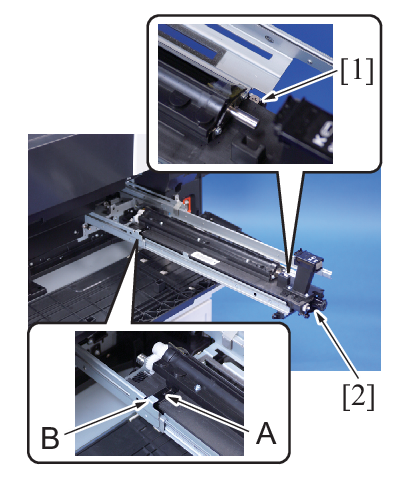
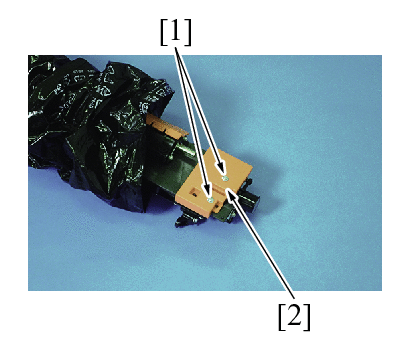
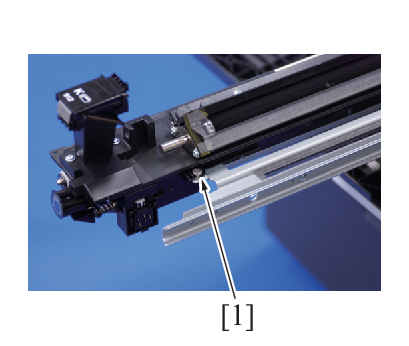
- Remove the shoulder screw [1].
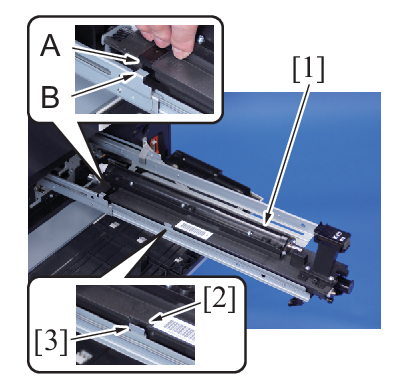
- Set A of the developing unit to meet B of the rail to remove the developing unit [2].
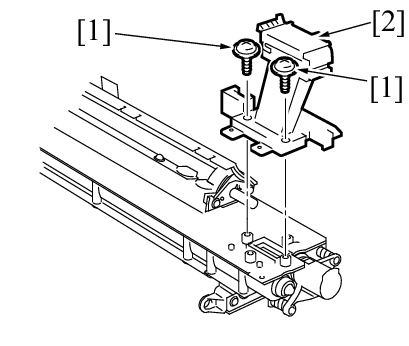
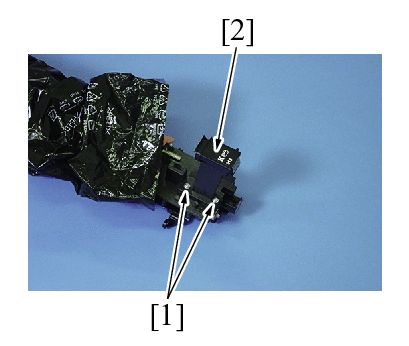
- Remove two screws [1], and remove the toner supply duct [2].
- Take out the new developing unit from the packaging.
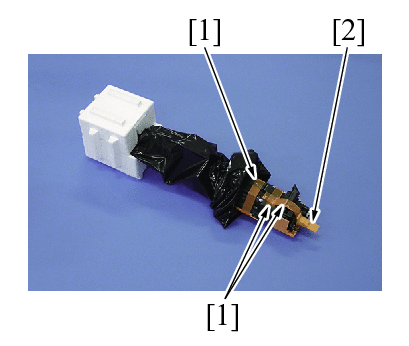
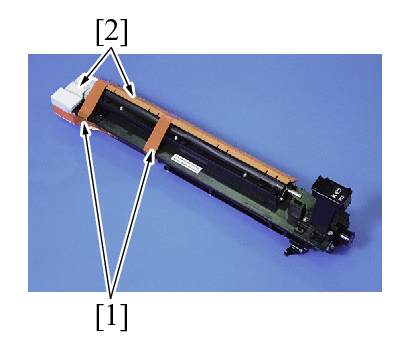
- Remove the tape [1] and the mounting parts [2] of the new developing unit.
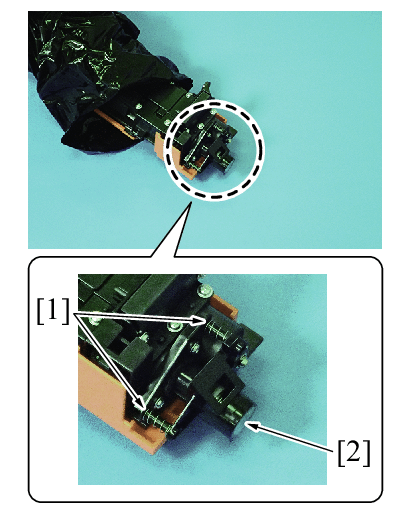
- Attached the two springs [1] and the shutter [2] for the included mounting parts to the new developing unit.
- Remove two screws [1], and remove the cover [2].
- Mount the toner supply duct [2] removed in step 4, with two screws [1] to the new developing unit.
- Take out the new developing unit from the packaging, and remove the tape [1] and the mounting parts [2].
- Align the position of the section A of the developing unit with the screw hole of the rail, and pass the section B of the developing unit under the rail.
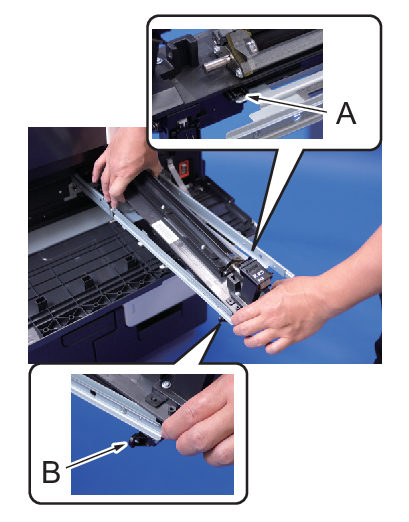
- Align the position of the section A of the developing unit and the section B of the rail, and place the developing unit [1] on the rail of the main unit.
- NOTE
- The rail positioning plate [3] should be set in the cutout section [2] of the developing unit.
- Fix the developing unit to the rail using the shoulder screw [1].
- Remount the drum unit.
- Replacing the drum unit
- Select [Service Mode] -> [Imaging Process Adjustment] -> [Gradation Adjust] and carry out gradation adjust.