4 Replacing the fusing unit
CAUTION

- The temperature gets high in the vicinity of the fusing unit. You may get burned when you come into contact with the area.
- Before replacement operations, make sure that more than 20 minutes have elapsed since the main power switch was turned off.
(Video: Replacing the fusing unit)
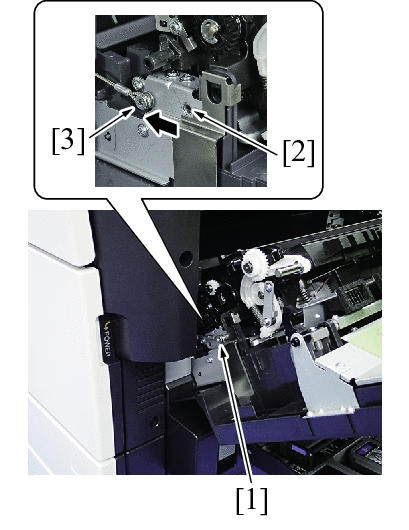
- Open the upper right door.
- Remove the screw [1], and move the stopper installing position from the hole [2] to hole [3]. Reinstall the screw [1].
- NOTE
- After the maintenance work is complete, return the stopper to the original installation position [2].
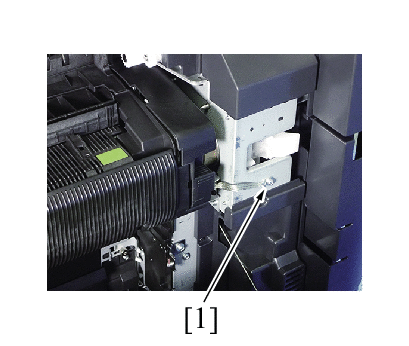
- Remove the screw [1], and remove the cover [2].

- Remove the screw [1] securing the ground wire.
- Remove the screw [1], and remove the unit connection connector cover [2].
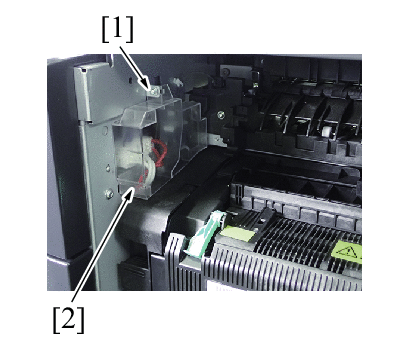
- Disconnect three connectors [1].

- Move the drive release lever [1] to the front side of the machine, and lock the lever. (The drive to the fusing unit is released.)
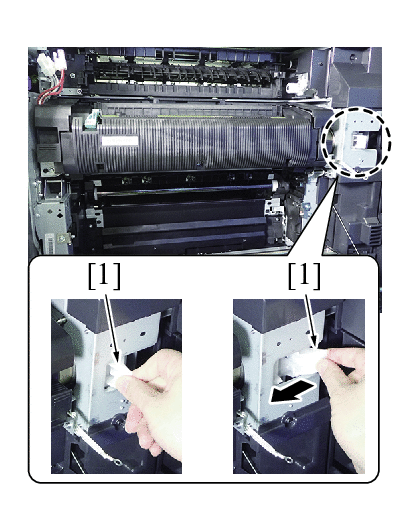
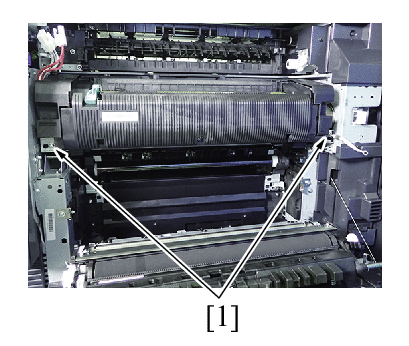
- Remove two screws [1].
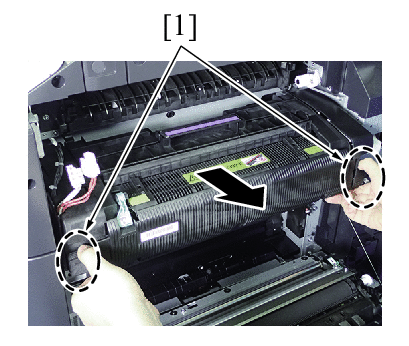
- Hold both edges [1] of the fusing unit, and then slide it toward the front side.
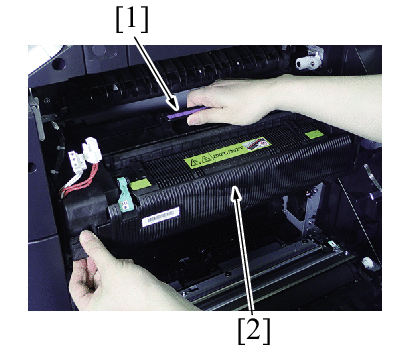
- Hold the fusing unit with firmly grasping the handle [1] at the top of the fusing unit.
- Raise the handle, and remove the fusing unit [2] from the main body.
- NOTE
- When removing the fusing unit, hold it firmly with both hands and take care not to drop.
- To reinstall, reverse the order of removal.
- NOTE
- After installing the fusing unit, wait for 1 minute after turning ON the main power switch and check the trouble code C-3922, C-3925, or C-3926 is not displayed.
- Perform the new release of the fusing unit in the [Service Mode] -> [Counter] -> [Life] -> [New Release].